Configuring a Web Project to run in Tomcat or AWS
On This page
On Related Pages
This will guide you through the process of setting up an Eclipse Web Project that can be used to launch to a local tomcat server or AWS.
Before starting make sure you have all of the prerequisites:
- Eclipse IDE for Java EE Developers (this includes the necessary WTP plug-ins).
- Install the AWS plug-in using Help -> Install new software, with the following url: http://aws.amazon.com/eclipse
Configuration an Eclipse Project as a "Dynamic Web Project"
In this section we will cover how to convert an existing eclipse project into a "Dynamic Web Project". This is a necessary for both Tomcat and AWS, as it tell eclipse about the resources to be deployed. The process of converting an existing project into a "Dynamic Web Project" is a manual one. We must first create an example project and use its configuration to edit the .project and .settings files of the project we wish to convert.
- Create a new "Dynamic Web Project" by selecting File->New->Other...
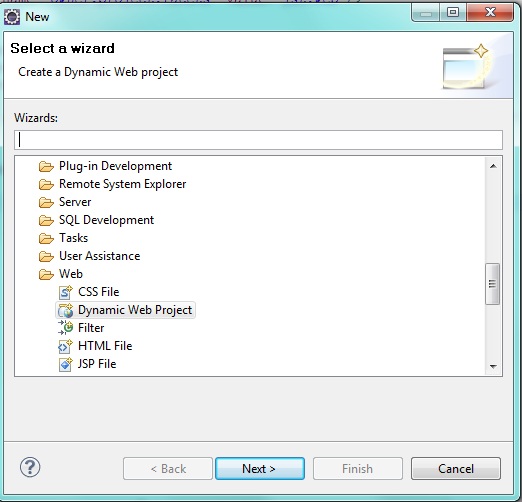
- From the Web folder select "Dynamic Web Project" as shown above and then select next.
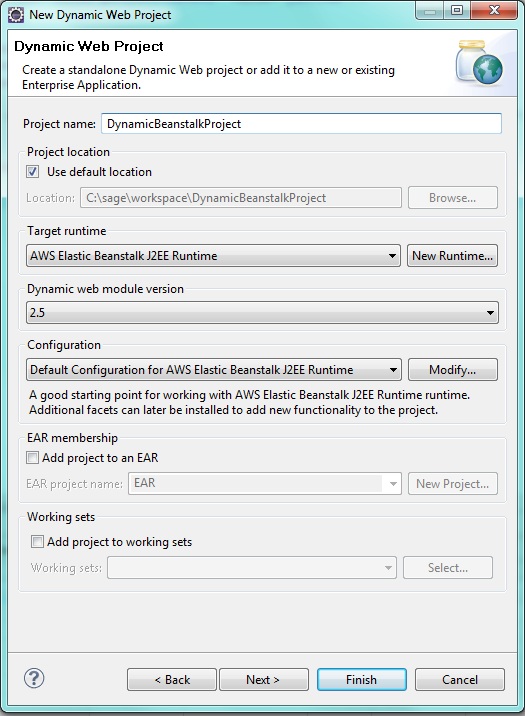
- Giver your project a name and select "AWS Elastic Beanstalk J2EE Runtime" under the "Target runtime" and select finish
- Next we need to copy information from the new projects .project file into our existing projects .project file. Copy over the following natures:
<natures> ... <nature>com.google.gwt.eclipse.core.gwtNature</nature> <nature>org.eclipse.wst.common.modulecore.ModuleCoreNature</nature> <nature>org.eclipse.wst.common.project.facet.core.nature</nature> <nature>org.eclipse.wst.jsdt.core.jsNature</nature> </natures> - We also need to copy over the following build commands from the new project's .project file to your project's .project file:
	<buildSpec>
		...
		<buildCommand>
			<name>org.eclipse.wst.common.project.facet.core.builder</name>
			<arguments>
			</arguments>
		</buildCommand>
		<buildCommand>
			<name>org.eclipse.wst.validation.validationbuilder</name>
			<arguments>
			</arguments>
		</buildCommand>
	</buildSpec>
- Next copy the following files from the new project's .settings folder into your project's .settings folder:
  org.eclipse.wst.common.component
  org.eclipse.wst.common.project.facet.core.xml
- Right-click on the project and choose Refresh (or click F5).
- Edit the web root of this project by right-clicking on the project in the Package Explorer and selecting "Properties", then select the "Web Project Settings" and name your Context Root:
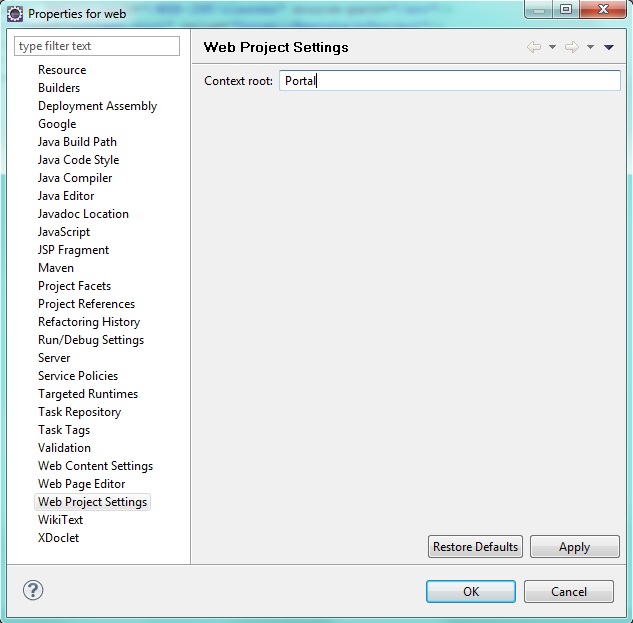
- After giving the approprate context root name select "Apply" and "OK" when asked to rename. Select "OK" again to close the dialog.
- Now we need to set the contents of the web application. Again right-clicking on the project in the Package Explorer and selecting "Properties", then select "Deployment Assembly":
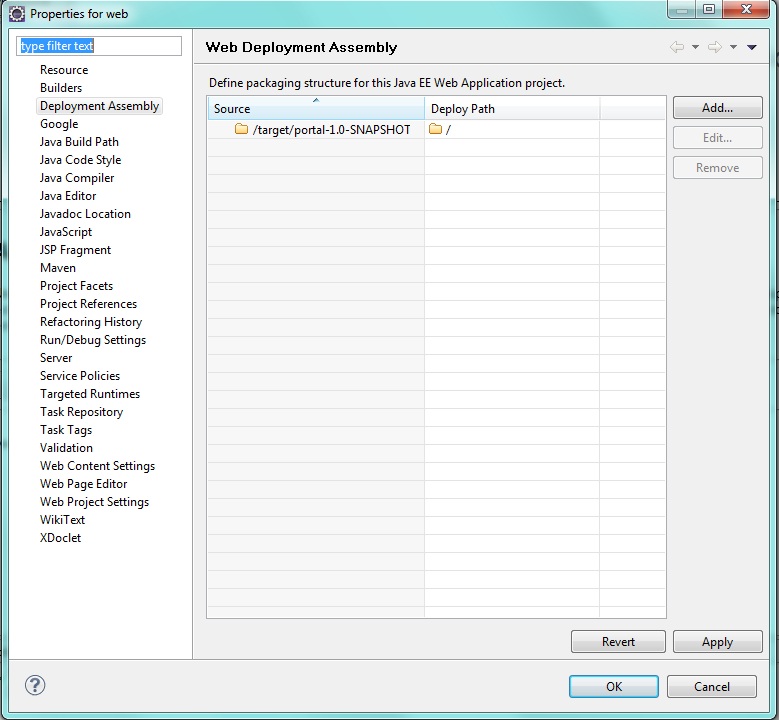
- Remove all of the folders from the new project and add the root of your web application. This should be the output directory for your web application. In the above example the output is "target/portal-1.0-SNAPSHOT" with a deploy path "/".
Running your "Dynamic Web Application" on a local Tomcat server
- Right-click on your project from the Package Explorer and select "Run As" -> "Run on Server"
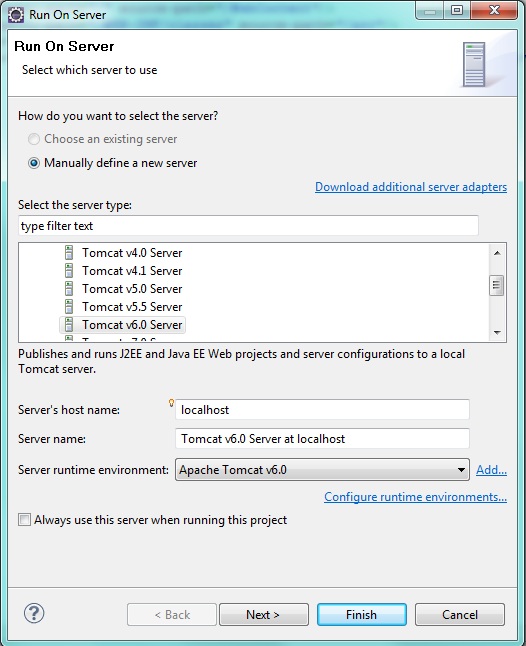
- Select Tomcat v6.0 Sever and select next. If you have not already configured a tomcat server of this version then you will see something like the following:
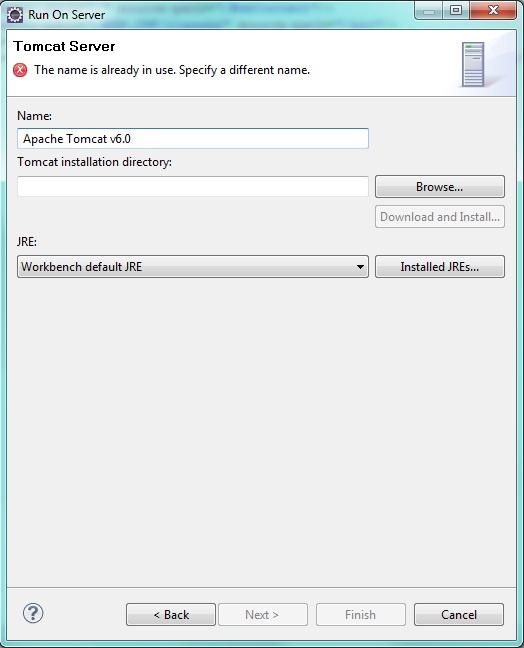
- Select "Download and Install" and follow the wizard to setup a local tomcat installation.
- Once tomcat is installed you will select the module to deploy on the server:
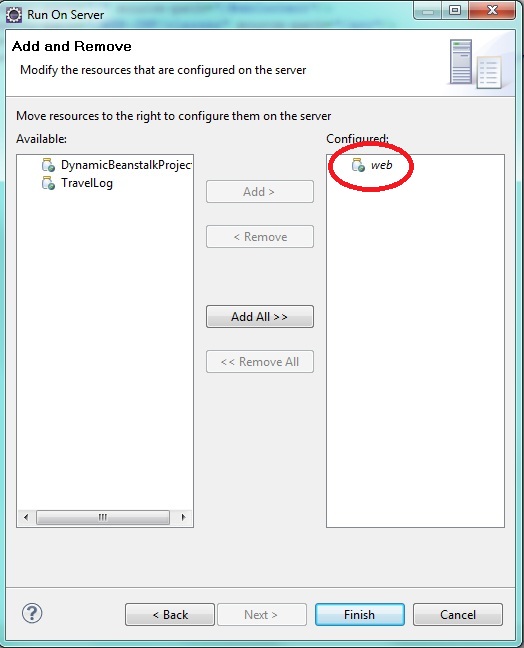
- Your project should already be select on the right-hand side as highlighted above. Then select "Finish".
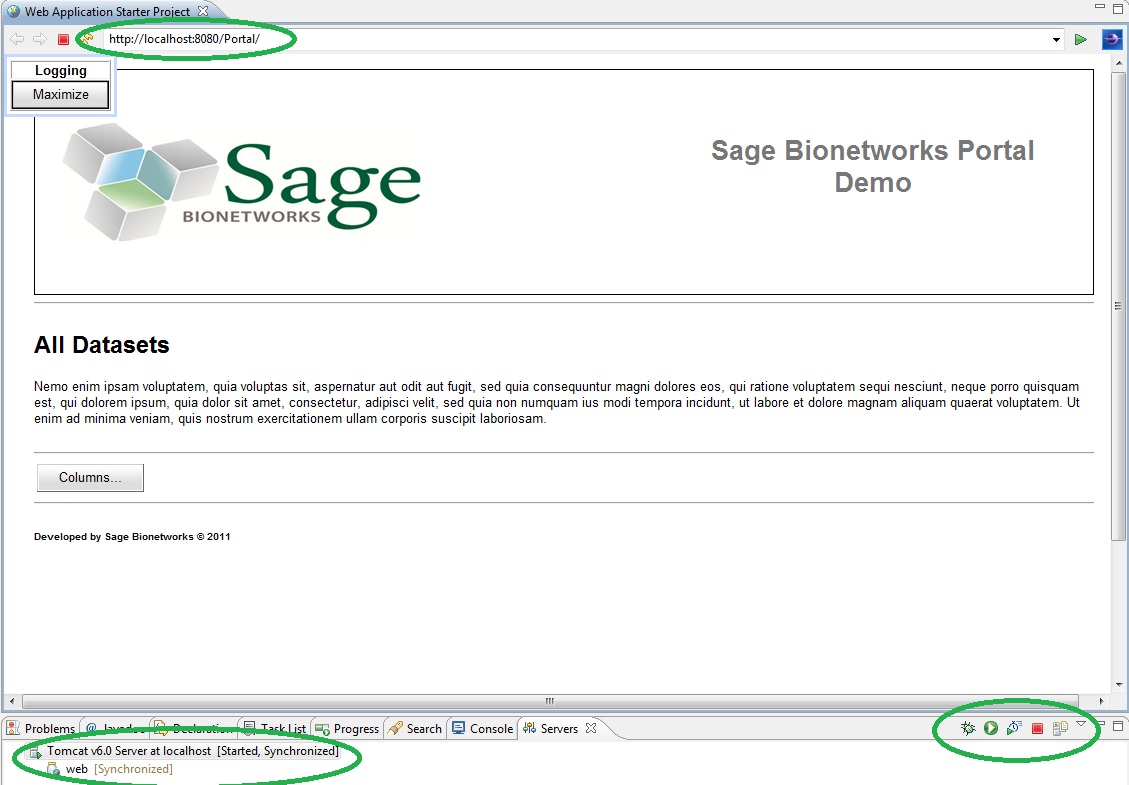
- Eclipse should automatically link to your web applications home page as shown below. The various server controls are also highlighted below:
, multiple selections available,